Getting started with Brevo Tracker
Overview
Brevo Tracker tracks website visitor behavior and identifies contacts. Once identified, contacts are automatically added to Brevo.
This guide demonstrates how to capture cart abandonments and target identified visitors through cart recovery emails after 2 hours of inactivity.
What you will learn from this tutorial
- Install Brevo Tracker
- Track your first website event
- Build an abandoned cart workflow
You can also track abandoned carts using plugins. Read more about this option here.
Install Brevo Tracker
Brevo Tracker tracks all pages visited by your contacts. Once identified, contacts are automatically added to Brevo.
Access tracking settings
- Log in to your Brevo Platform
- Activate the Marketing Automation feature on your Apps page
- Go to Automation > Settings > Tracking code
![]()
Add tracking code
Copy the tracking code and paste it just before the </head> closing tag in your website. If you don’t have a </head> tag, add the script just before the <body> tag.
Visit your website to verify the tracker is installed. If installed correctly, the Tracking ID status shows as verified next to the Verify button.
![]()
Track your first website event
After installation, send custom events when visitors perform actions on your website.
Page views are automatically tracked once Brevo Tracker is installed.
The track() function
The track() function sends custom events. It accepts three parameters:
- Event name (required)
- Properties (optional)
- Event data (optional)
Event name
The event name identifies the action being tracked.
For a visitor who adds items to their cart, use cart_updated as the event name.
Properties
Properties is a JSON object that describes the visitor’s state, such as email, age, gender, and location.
Pass user attributes (firstname, lastname, etc.) to the properties object to update the contact database in Brevo.
Properties and contact attributes
Properties and contact attributes have similarities:
- Contact attributes that correspond to properties are updated each time an event is fired
- Properties that don’t correspond to existing contact attributes can only be used in Marketing Automation unless you add them as contact attributes
Event data
Event data is a JSON object that contains information about a transaction. It has two optional entries:
id(optional): Unique identifier of the event. For example, the unique identifier of the cart object on your website, so each time the user adds an object to their cart, it’s reflected in Brevodata(optional): Any information related to your transaction. For example, the details of all products in the cart
Build your first track event
Call brevo.track() with an event name, properties, and event data to fire a track event.
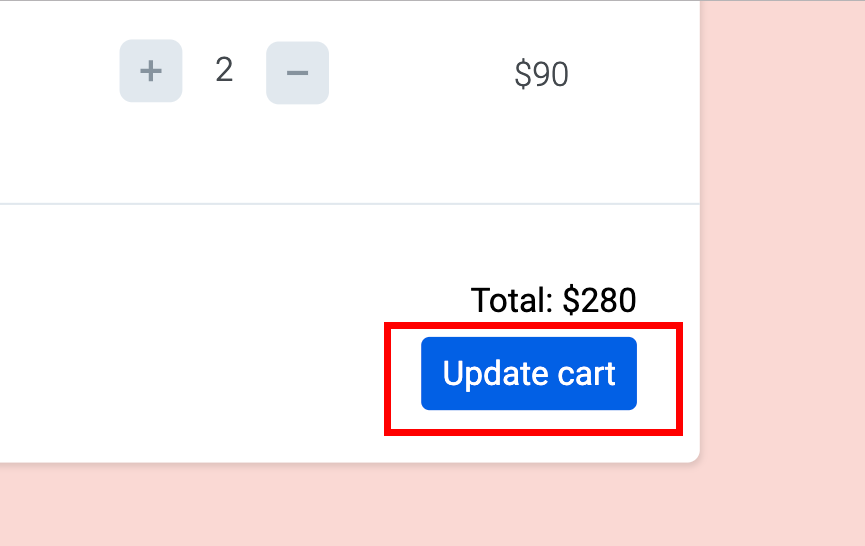
For a cart update, fire the cart_updated track event each time a user clicks the update button.
Example implementation:
Build an abandoned cart workflow
Abandoned cart workflows help recover potential lost sales.
Required events
Track these three events to build an abandoned cart workflow:
- cart_updated: Indicates when a cart is created or updated
- order_completed: Indicates when a cart is purchased
- cart_deleted: Indicates when products are deleted from an existing shopping cart
Create the workflow
Access automation
- Log in to your Brevo Platform
- Go to Automation. If you haven’t enabled Automation before, activate it from the Apps page
You’ve learned how to use Brevo Tracker to track website activity. The brevo.track() function accepts three types of entries:
- Event name: recommended events for abandoned cart tracking are
cart_updated,order_completed, andcart_deleted. - Properties: describes the state of an individual person (your website visitor or product user).
- Event data: pass precise information about your transaction, such as the details of all products in the cart.